I thought I'd try to show why it is that the little Jacob A60 is one of my most liked lights.
For those not in the know it is a small class thrower that retails for about 15 usd.
Stock it features a 3 mode driver with Hi - Lo - Strobe and the dreaded next mode memory. A rather dated XR-E emitter driven around 2 amps, around 270 lumens OTF and throw in the 50-70 kCd range.
It has been reviewed by koyotee here as well as by others. I happen to borrow some of koyotee's excellent pictures here because my cell phone cam sucks bigtime! And he takes really nice, clear pictures :-)
Here is the profile. Photo by koyotee

And a nice piture of all the internals. Photo by koyotee

Reader beware. From now on it my terrible phone pics. You were warned! ;-)
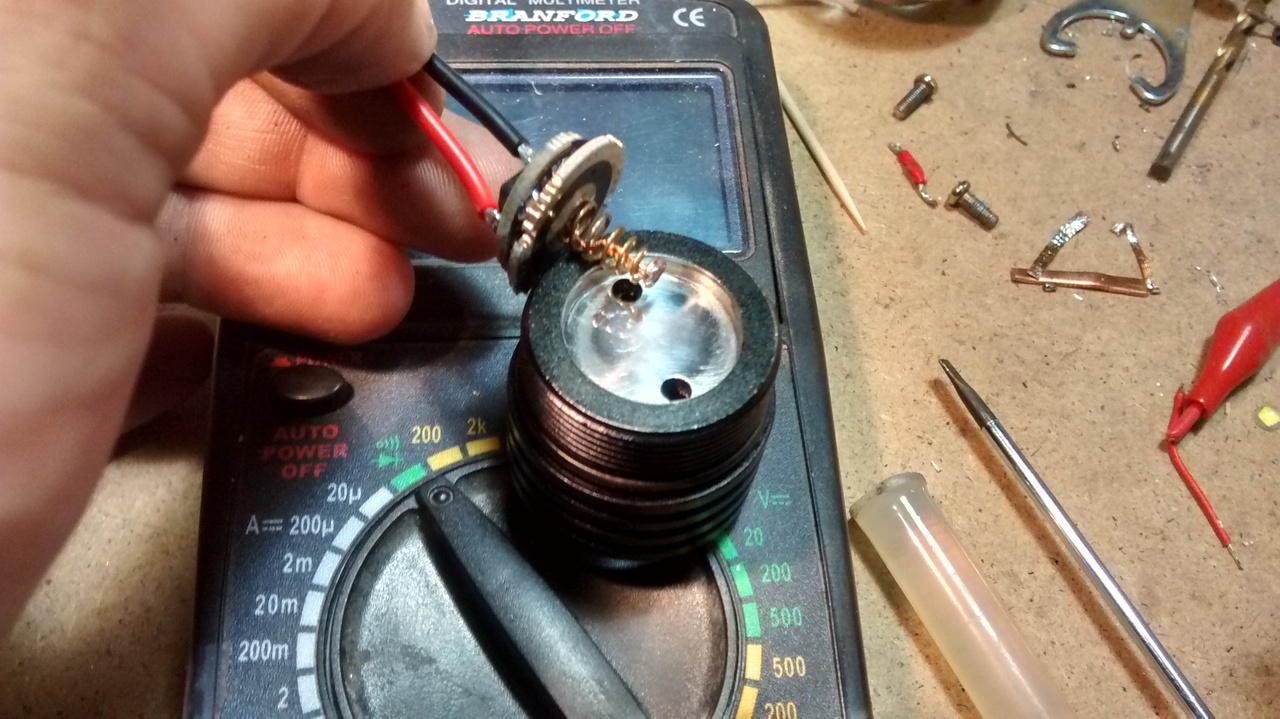
First I take it apart and desolder the wires to the old emitter and remove old driver and led...
Ooops! Looks like they put that paper gasket under the emitter not on top to isolate the wires.
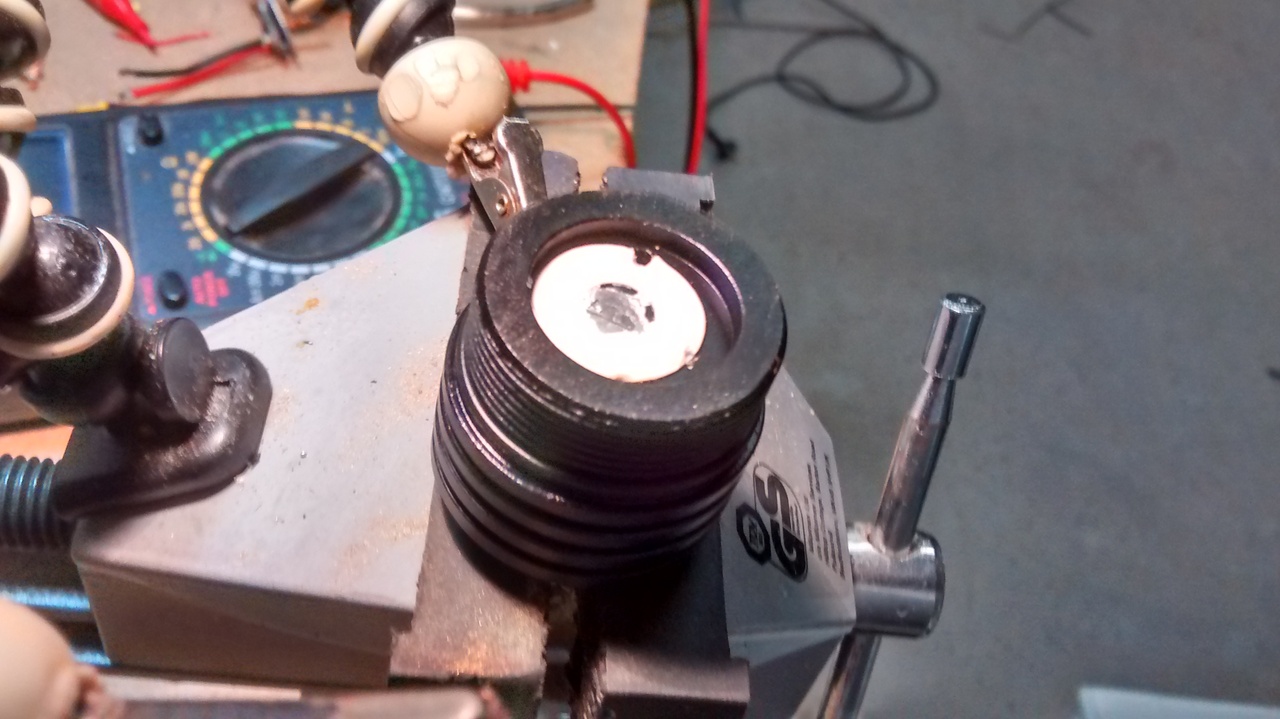
Oh well. We shall get back to this later...
Then the old driver.
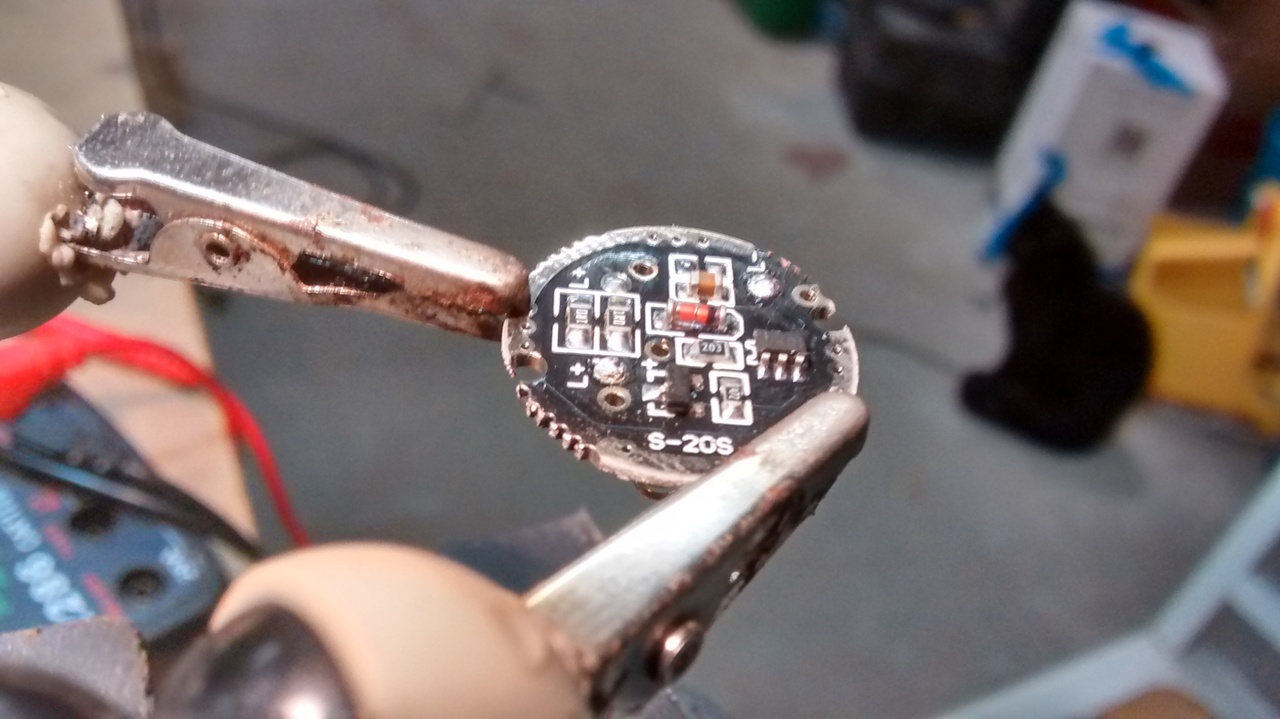
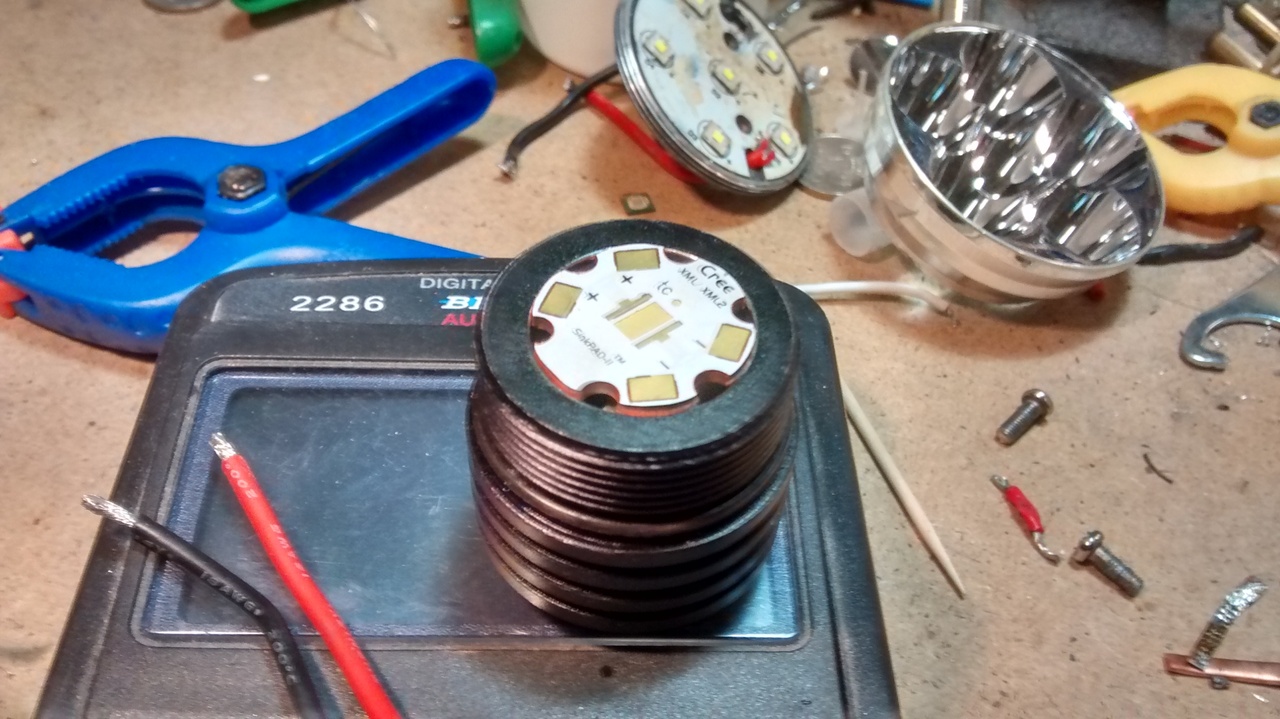
I want to use it for a contact board so I remove all the component. And drill out that hole that is almost in the centre to a 2,5mm size. In the picture above it is below and at the left side of the red diode. Then I can feed a length of solder braid through it and solder that directly to the end of the spring...
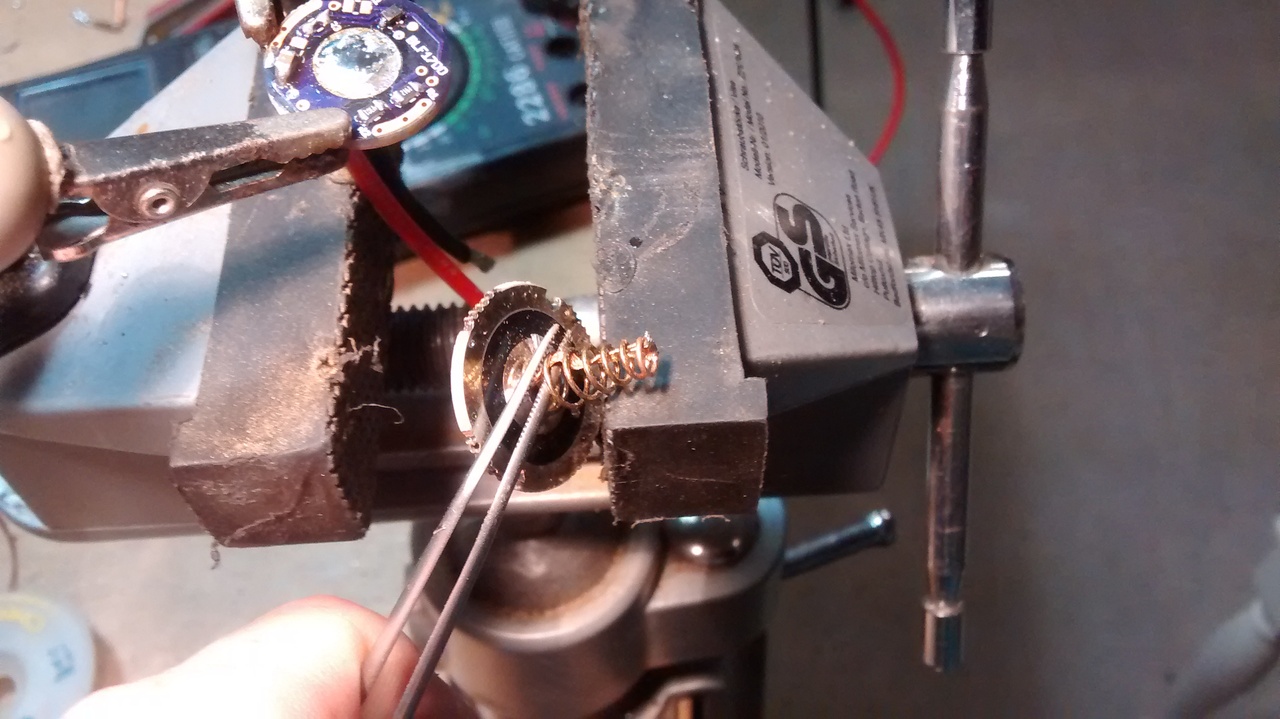
Meanwhile on the other side.
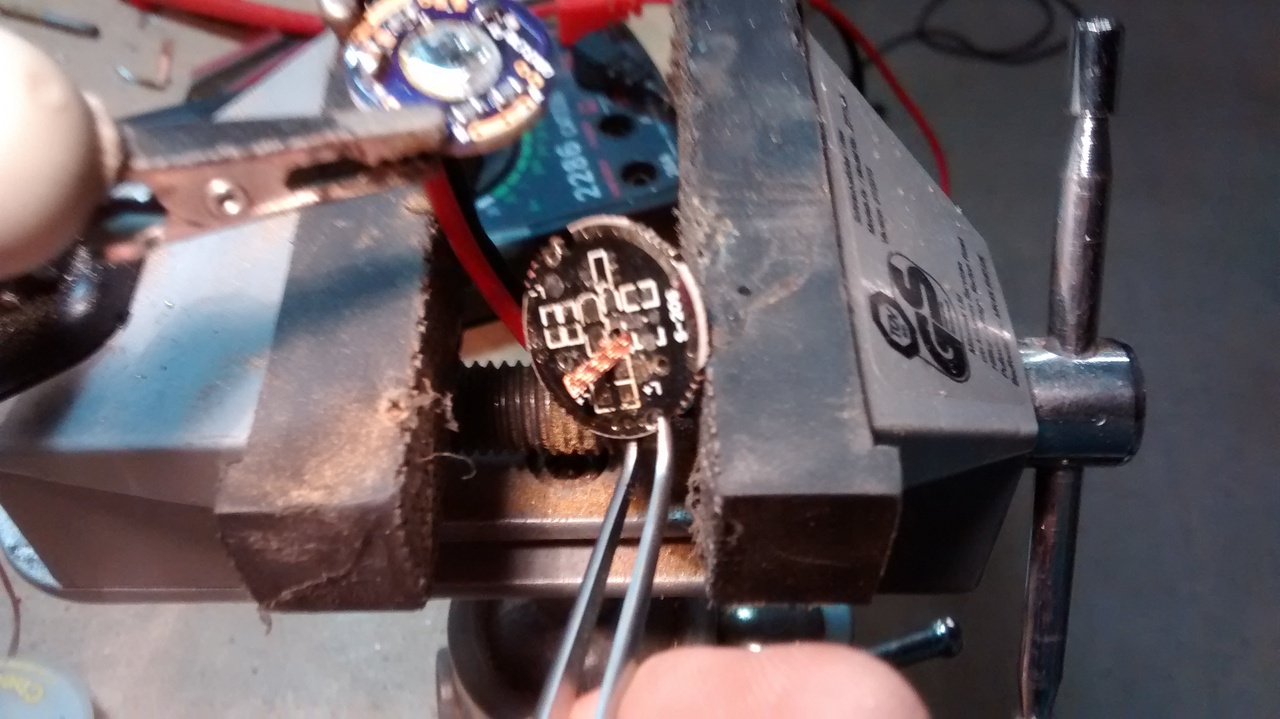
Now I isolate the little solder pads around the board with tape. Not the ground ring, mind you :-)
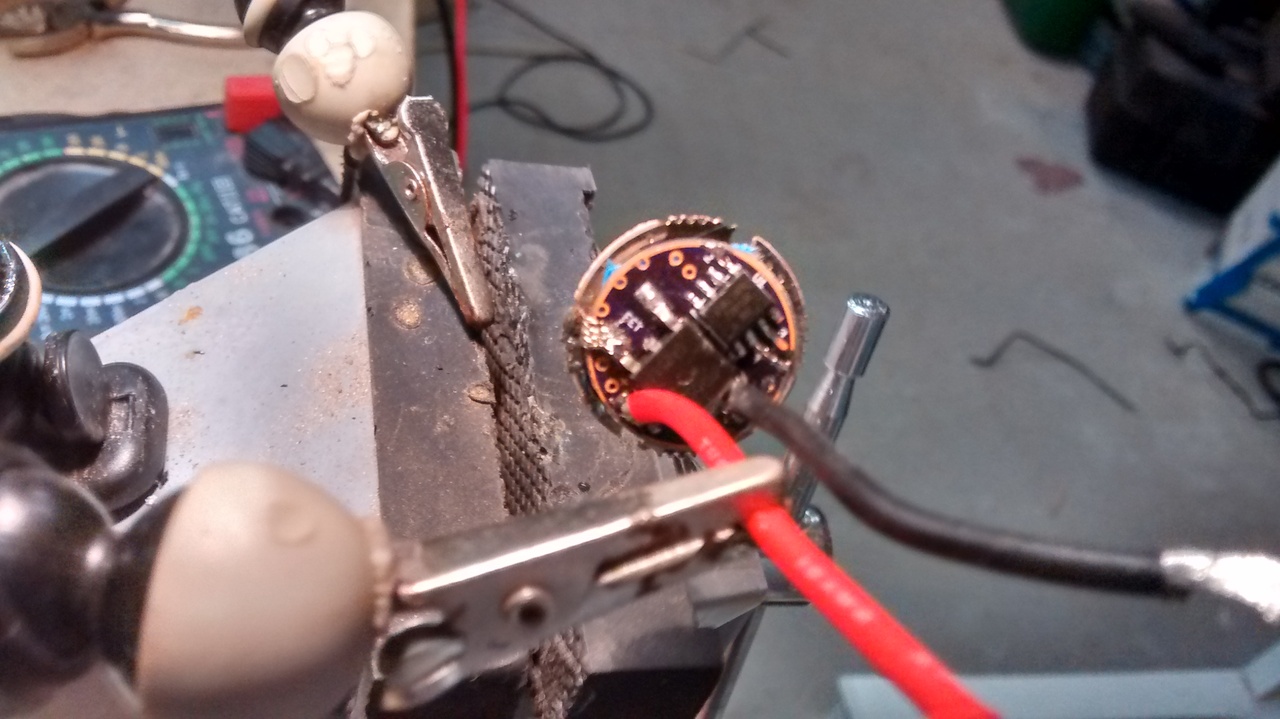
Then I solder that braid to the center pad of the BLF17DD driver...
In case you are wondering where I got that smart looking blue Kapton tape.. It is masking tape 8-)
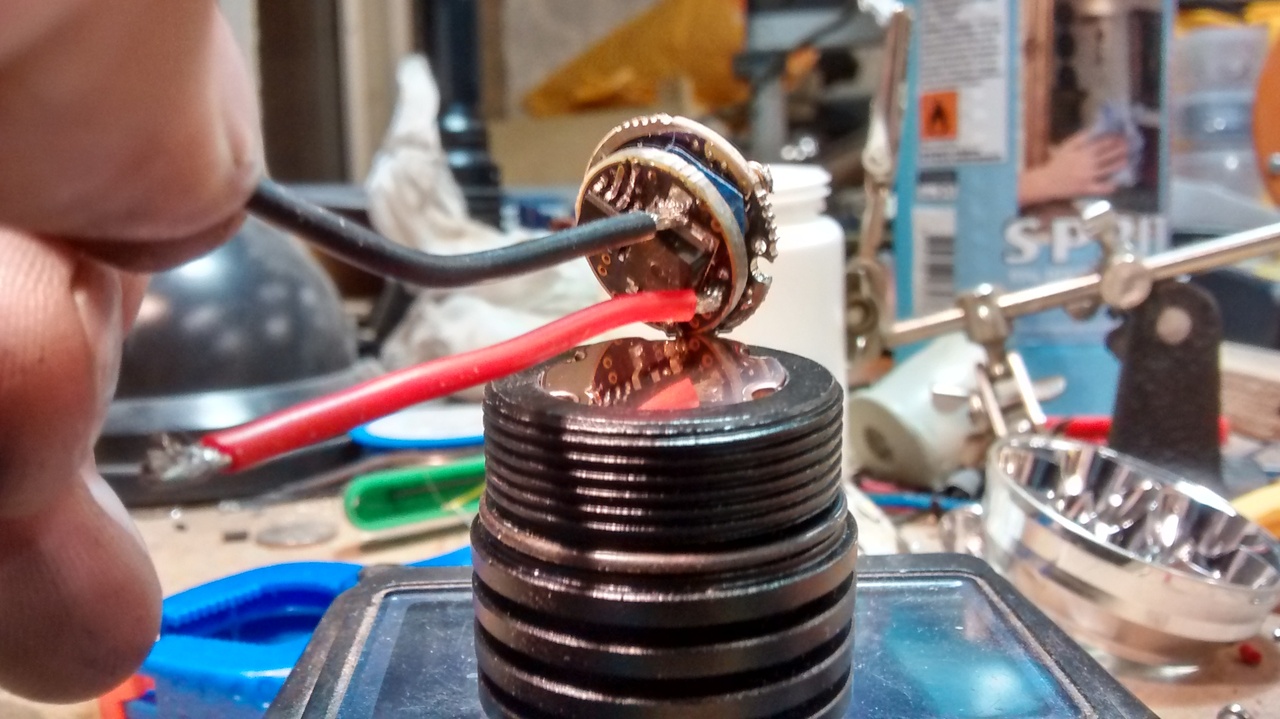
I carefully centered the driver when I soldering the centre pad to the solder braid.
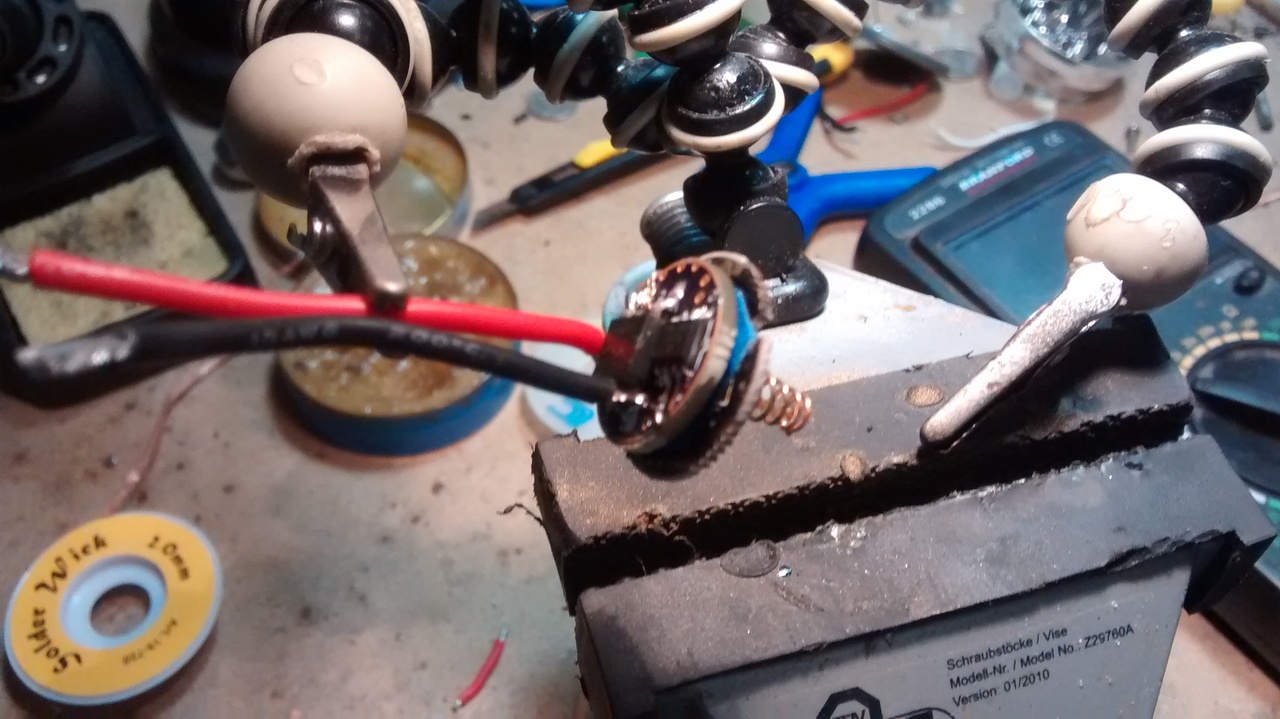
And next I solder on some more solder braid to act as a direct "bridge" for the current to flow from the FET and the ground ring of the BLF17DD driver to the ground ring of the original driver.
I leave enough solder braid to overlap the vertial side of the contact board because when I install it in the host it will sit firm due to the press fit.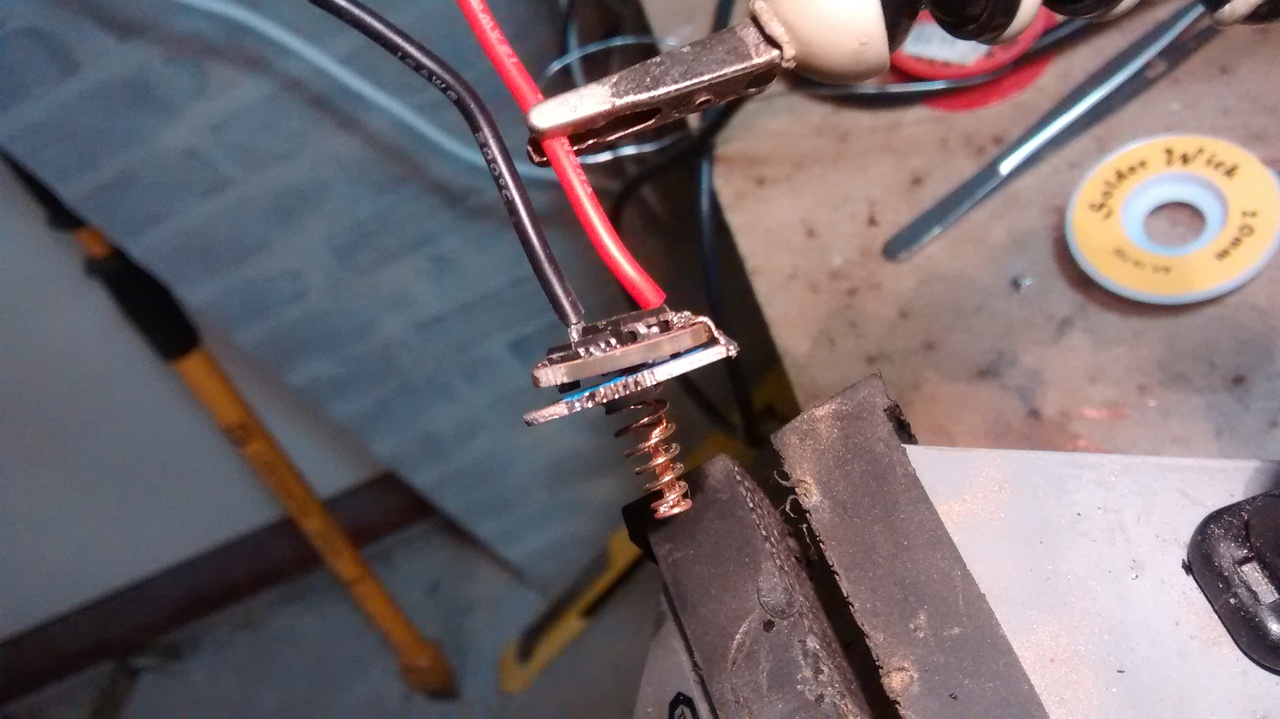
You remember this one??
I took a page from Comfychairs book and made me a sanding pad with handle from a hot glue stick...
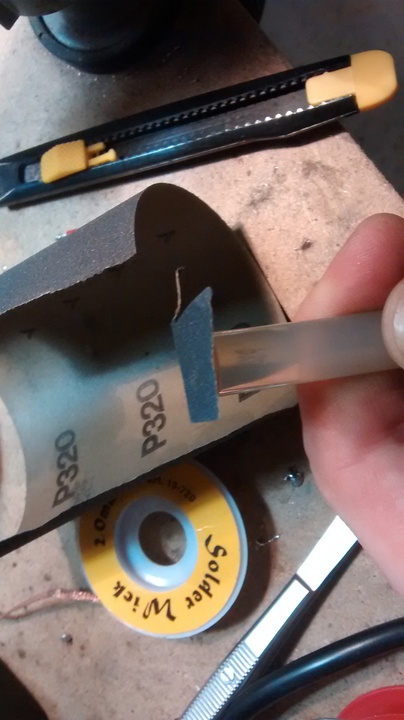
And then I went to town getting that paper gasket thing off while the hot glue cooled off. I have found out it has to cool completely for it to be able to hold onto this abrasive paper...
And after some patience and some polishing...
Next up is the sinkpad.
But it is too big! NICE!
Nice... Nice? Dafuq ??
Yes NICE! It is nice because with a little measuring and careful sanding it can now become a press fit copper slug! Get it? NICE ;-)
Before press fitting anything I reflow the led.
A de-domed Xm-L2 something or other. Came from a 7 emitter King style light where I cooked the leds so hard that some died and went to heaven and the rest desoldered themselves and slid off their pads.
I also tin the pads. Always BEFORE mounting the mcpcb! Especially these sinkpad and noctigon in lights where they are press fit into/onto something. But I'll get back to that.
What a crappy picture eh? I am fascinated by how much more terrible it becomes when it is in full screen. I can almost hear pixels screaming "Noooo" Oh well.
And here you can see i sanded and polished the sinkpad a little bit too ;-)
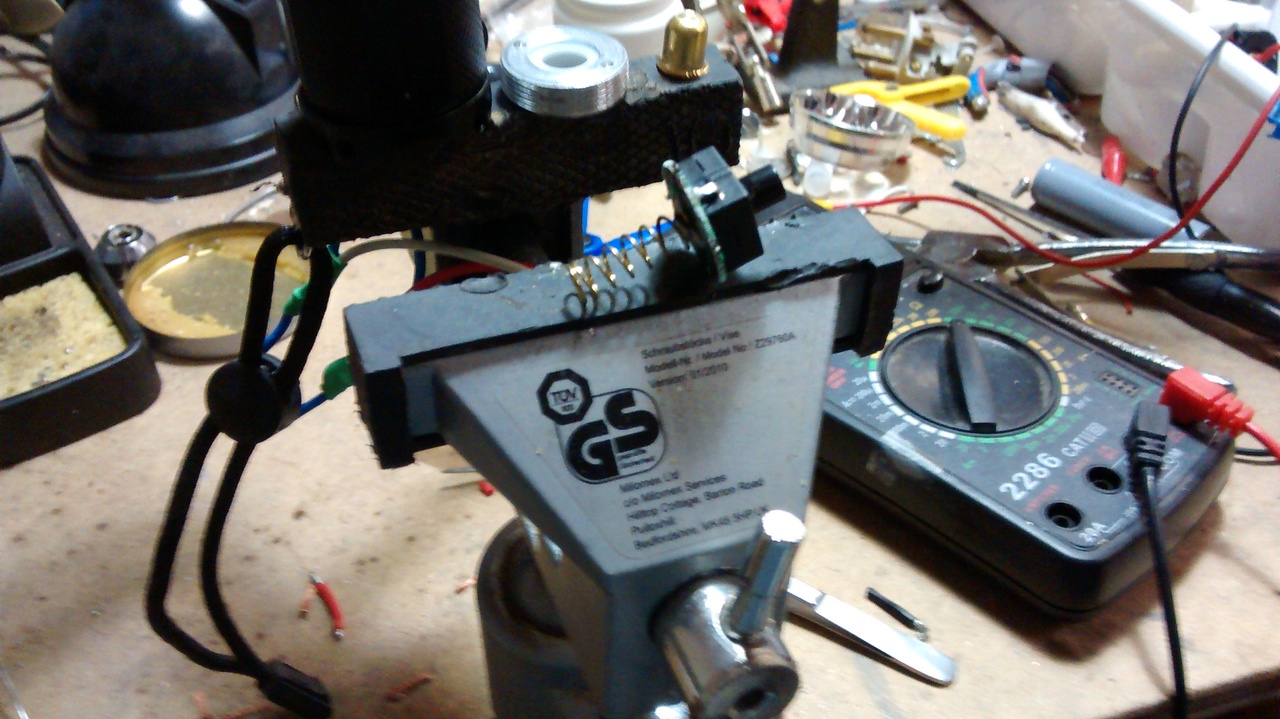
Now I apply a dab of epoxy thermal compound and press fit the sinkpad to its new home.
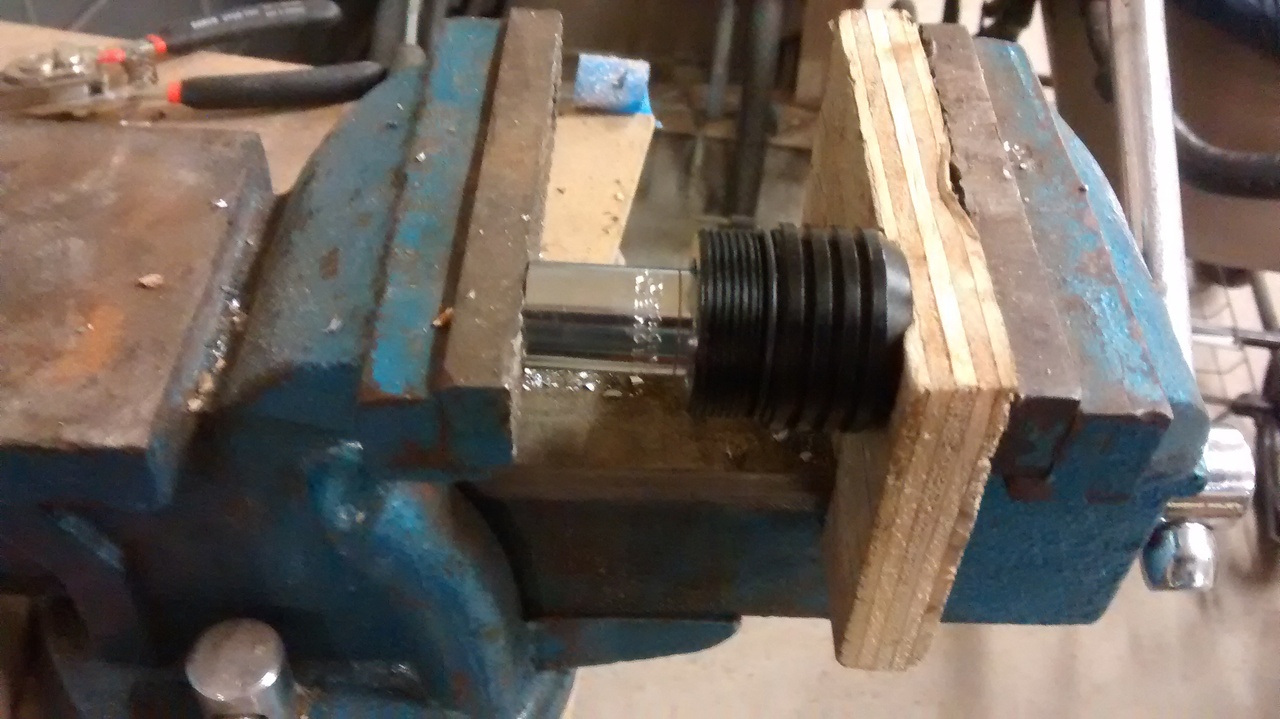
A vice and some socket makes for a nice combination here. Notice I put that plywood as a backing for the head? Not only so save the head from visual damage but also in order to not put too puch pressure on the SInkpad. I have had them warp a little bit under too much pressure and then I doubt if the sanding/polishing part makes any difference when that happens. So not to light. And not mega force.
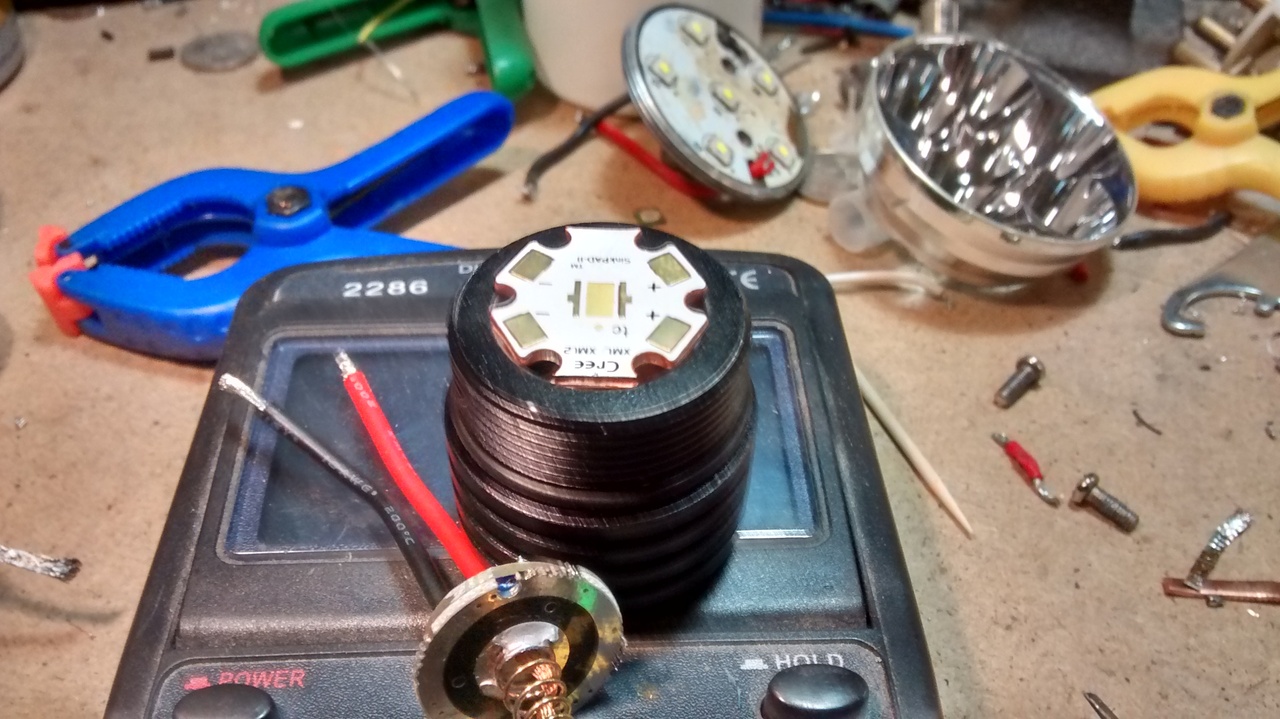
After the thermal compound cures the driver and the emitter meets up.
If you are thinking "What ugly soldering" then I must admit this one is not that bad! After press fitting this and everything is cured I have massive trouble soldering these nicely!
My 65 watt soldering station set to 400*C and I still sometimes solder the blody tip of the iron to the solder pad! It is just a few seconds but it happens. Stuck
The whole pill will warm up when I solder these. I mean really really warm up. To the point where I have to give it a five minute wait before I touch it by hand. I just leave it in the vice now. I did not the first time... 8-)
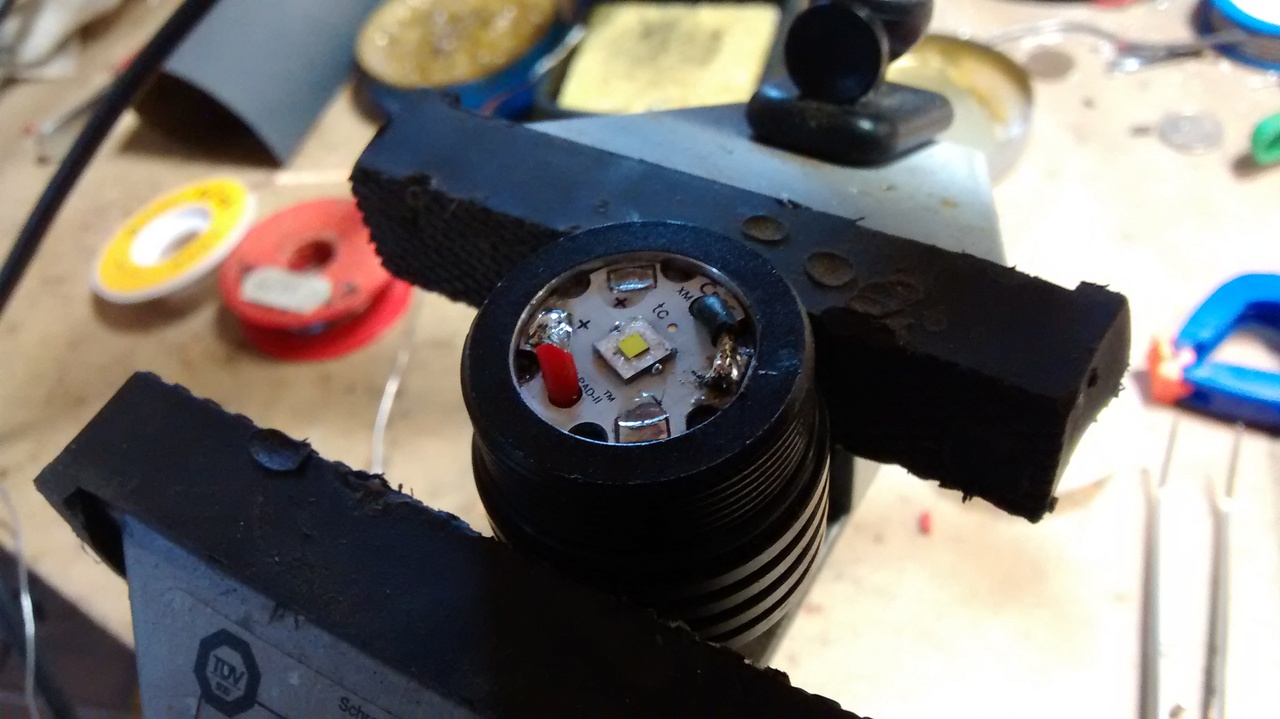
And maybe you niticed I routed the wires thorugh 2 new holes that I made in the Sinkpad? That is because if I use the cutouts in the Sinkpad then I cannot get my size wire through the holes without drilling the side of the Sinkpad some. And then I get close to the copper traces for the +/- wires. And they are small enough already. Thats why.
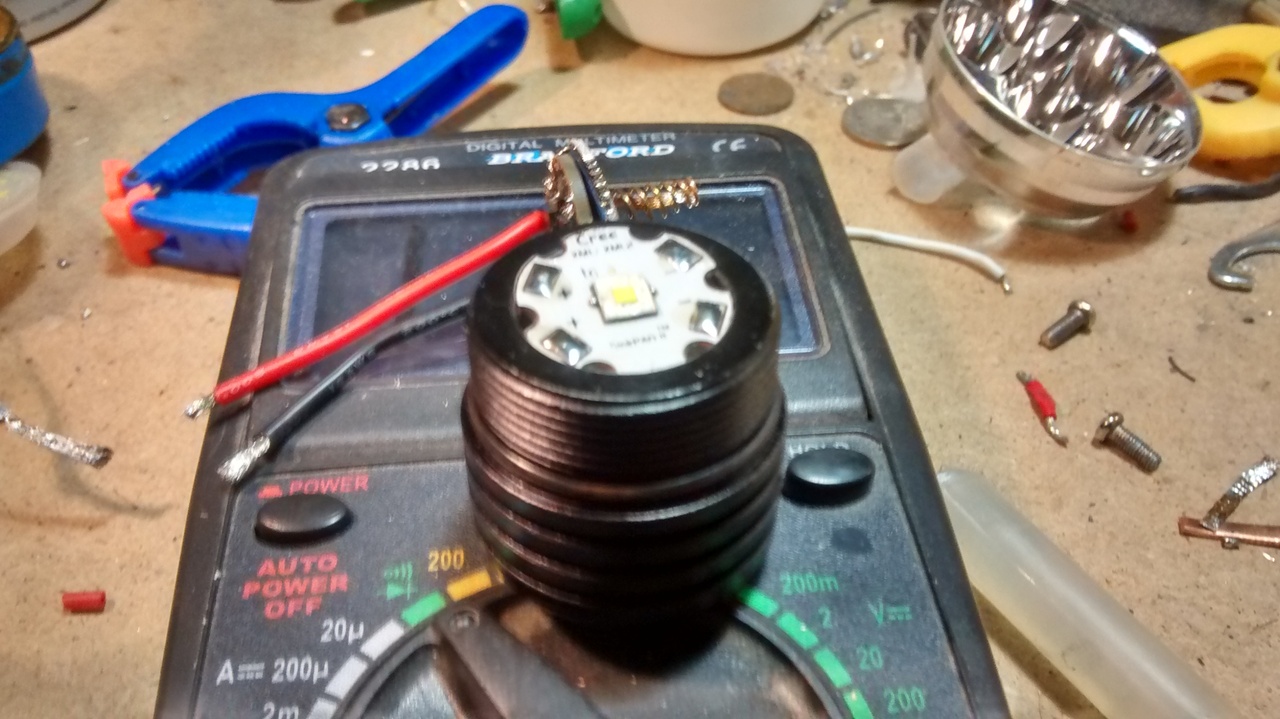
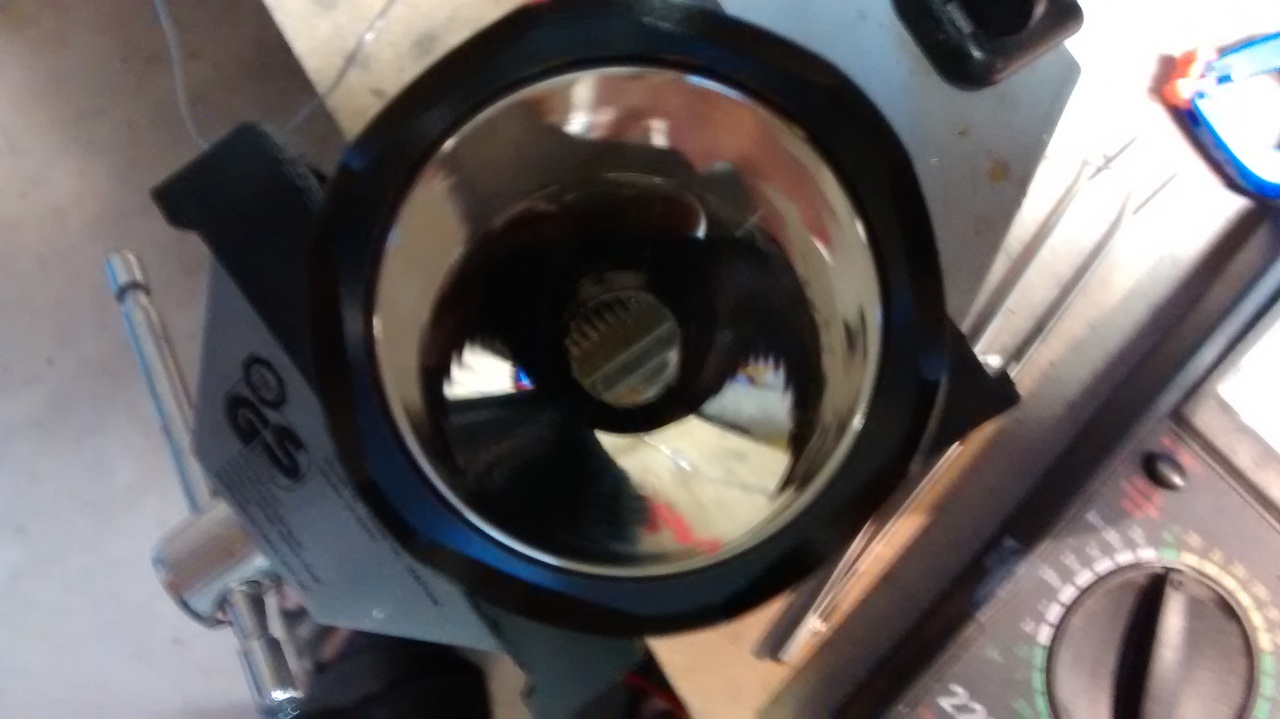
Then it comes time to look at the busiess end.
These are renowned for being sent out dirty and this one is no exception :-)
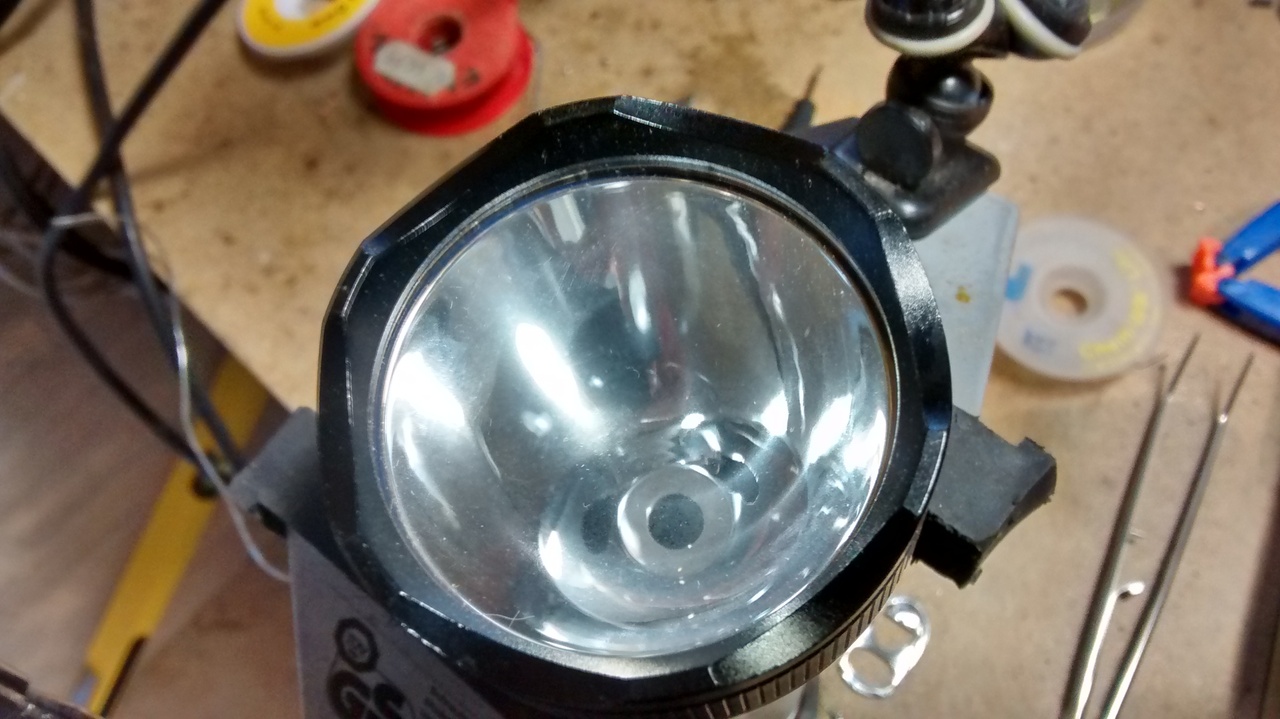
Oh well. Apart it comes and the reflector meets Mr. File :-)
No more flat section. And a lens that has been cleaned up. These lenses are known to cut 10-15% of output BTW. Even when clean. I did not measure this one for output drop though. But the size is 50mm x 2mm thick in case you want to head over to www.flashlightlens.com and order a great UCL lens :-)
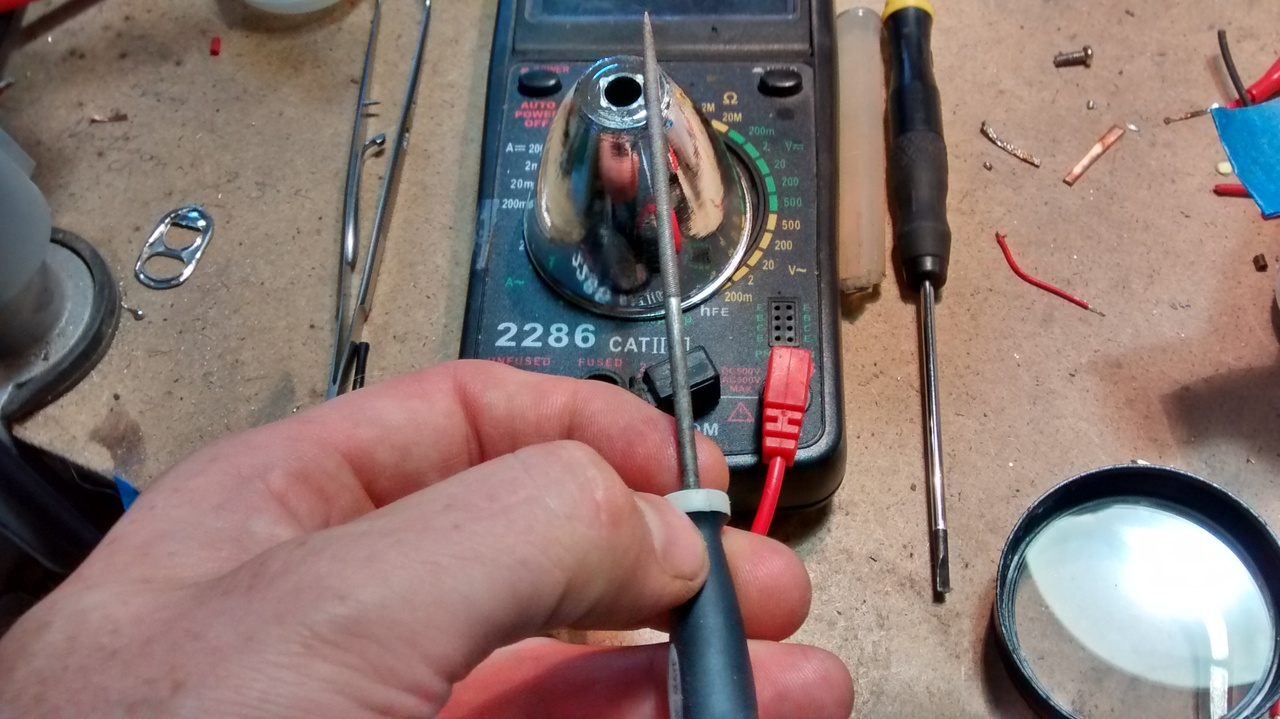
Then after putting it all together again and adjusting the reflector I take the first measurement of throw.
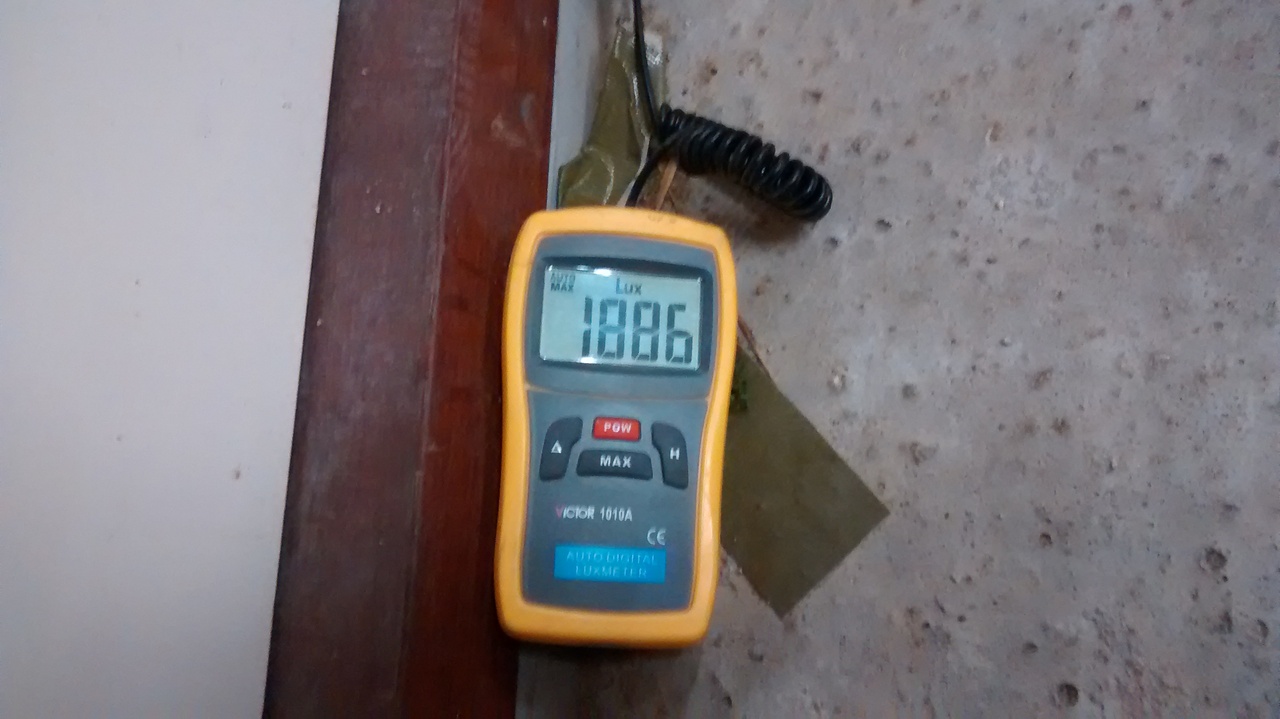
This at 7 meters so: 7*7*1886 = 92414 Lux @ 1 m ~ 607 meter throw. Hmm. What does a tail cap braid do??
Remember that the retaining ring for the switch assembly has a left hand thread. Not lefty losey - righty tighty this time over.
And here are the parts
The solder braid is connected like on the srping in the driver end. Note that I think these switches are not bad for high current at all.
And after re installing and testing:
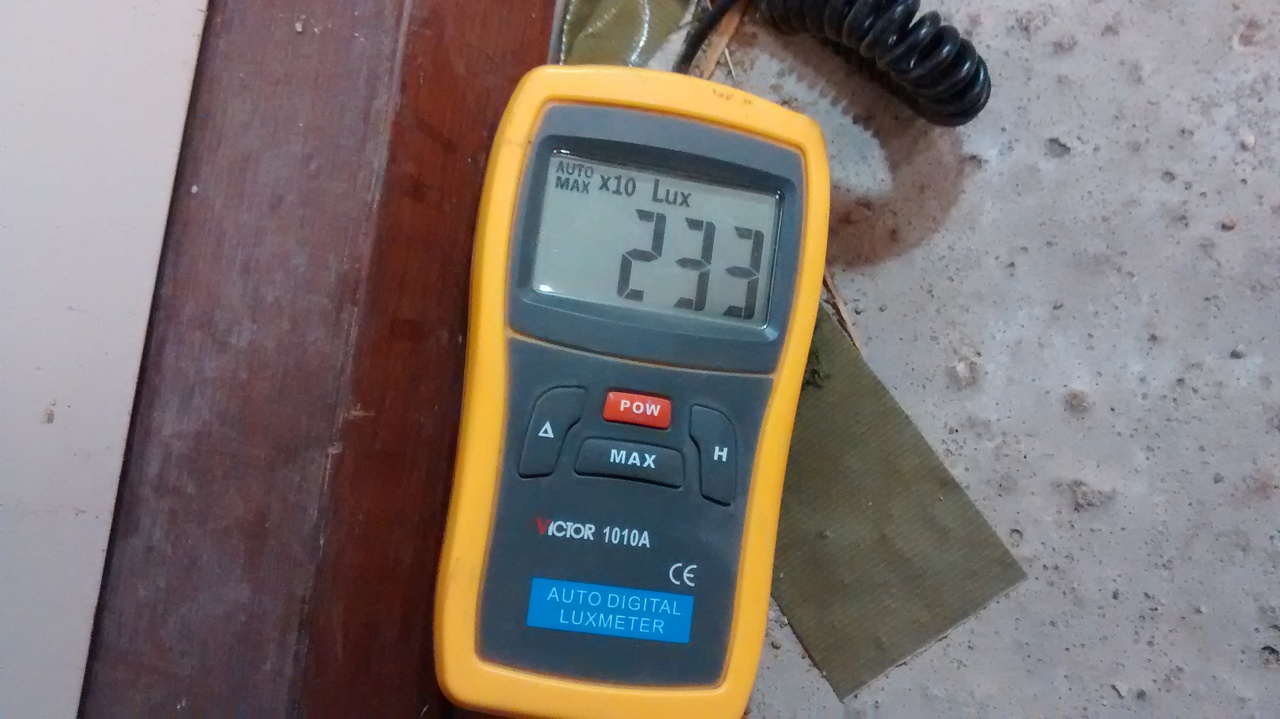
So 233*10*7*7=114 kCd at 1 meter ~ 675 meters of throw. From a pocketable light? Yes please :-)
I also made some measuring of lumens from this light to have some documentation of what lumens levels one can expect. The firmware is Star1.1 and it has standard pwm levels as I think these are spread out quite well.
The battery used is a 5 year old Sanyo laptop pull as I think this is a "middle of the road" cell and what many might feed this light with.
I'll just note that the light is still able to fit both protected and unprotected cells as well as flattop cells.
Moon ~ 22 lumens
Low ~ 35 lumens
Med ~ 105 lumens
High ~ 310 lumens
Turbo ~ 800 lumens.
These are somewhat low compared to what I get from other lights but as long as that stock lens is there it will not get considerbly brighter unless I use a high quality IMR battery like the Sony VTC5.
I should also note that my integrating Ikea Bucket may not be ideal for measuring throwers. Or anything else for that matter. But it is what I have an gives me a ballpark figure that I am happy with at the moment. Great tool for modding that is for sure.
Addendum:
This morning I just tightened all connections up real tight (retaining ring in the head and on the switch and inserted a fully charged old laptop pull.
I only measured throw. Still at 7 meters.

255*10*7*7= 124,950 lux @ 1m. ~ 706 m throw.
I am quite enamored by these little sweethearts :-) Thank you for reading.

